

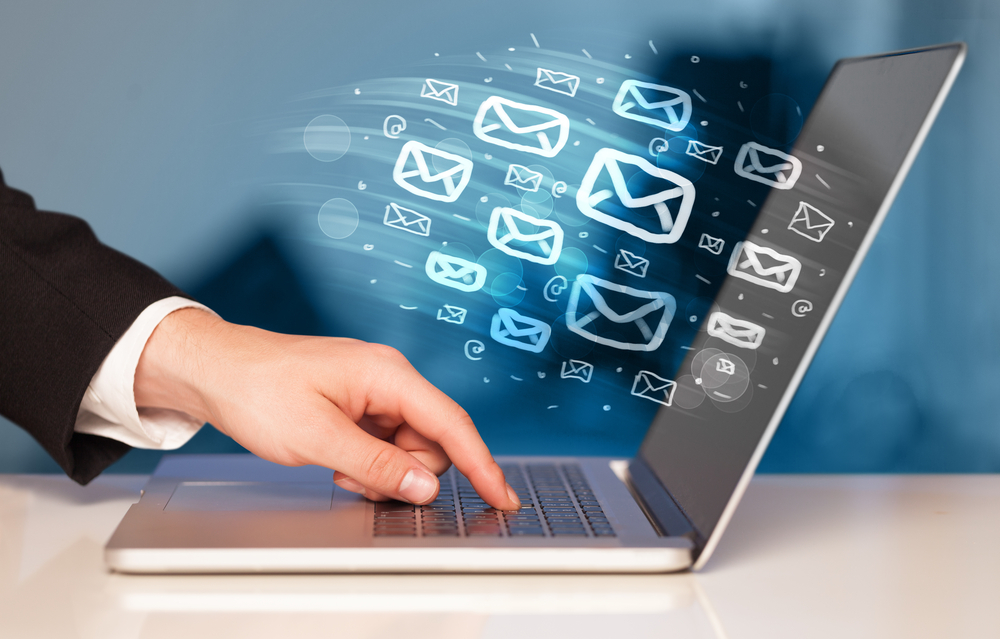
 In today’s fast-paced world, keeping up with our inbox can feel like a never-ending task. We often find ourselves overwhelmed with the number of emails we receive, making it difficult to prioritize and respond to important messages in a timely manner. If you’re struggling to keep up with your inbox, there’s a solution that can help you streamline your workflow and increase productivity. It’s called the “touch it once” principle.
 The “touch it once” principle is a simple but effective approach to email management. The idea is to act on emails as soon as you receive them, whether it’s replying, delegating, or archiving. This approach ensures that you don’t waste time re-reading emails and allows you to stay on top of your inbox.
But how can you put this principle into practice? That’s where CatchApp Bookings and Zapier come in. These two tools can help you automate your appointments, emails, and manage them all in one place. Here’s how you can use CatchApp Bookings with Zapier to organize your appointments and emails.
Step 1: Connect your CatchApp Bookings and Zapier accounts
The first step is to connect your CatchApp Bookings and Zapier accounts. This will allow you to create workflows that automate tasks between the two tools. To do this, log in to your CatchApp Bookings account and go to the “Integrations” section. Click on the Zapier logo and follow the instructions to connect your accounts.
Step 2: Create a Zap
Once your accounts are connected, you can start creating a Zap. A Zap is a workflow that automates tasks between two or more apps. In this case, we’ll be creating a Zap that automatically adds appointments to your calendar and sends a confirmation email to your client.
To create a Zap, click on the “Make a Zap” button in your Zapier account. Select “CatchApp Bookings” as the trigger app and “Google Calendar” as the action app. Follow the instructions to set up the trigger and action steps.
Step 3: Customize your Zap
After you’ve set up your trigger and action steps, you can customize your Zap to fit your needs. For example, you can choose which calendar to add the appointment to, add custom fields to the confirmation email, and more.
Step 4: Test and activate your Zap
Once you’ve customized your Zap, it’s time to test it out. Zapier allows you to test your workflow before activating it, ensuring that everything is working as expected. Once you’re satisfied with the results, activate your Zap and watch as appointments are automatically added to your calendar and confirmation emails are sent to your clients.
 In conclusion, using the “touch it once” principle and tools like CatchApp Bookings and Zapier can help you stay on top of your inbox and streamline your workflow. By automating your appointments and emails, you’ll be able to focus on the tasks that matter most, increasing productivity and reducing stress. So why not give it a try?