monday.com is a powerful integration to set up with CatchApp Bookings, and there’s more you can do with it after you’ve integrated.
monday.com’s automations let you use an event inside monday.com (like changing a status) to trigger an action – so things like notifications.
What is an Automation Recipe?
Automation recipes are sets of pre-defined combinations of triggers and actions. A trigger is an event you choose that sets the automation into motion. An action is what occurs as a result of that trigger.
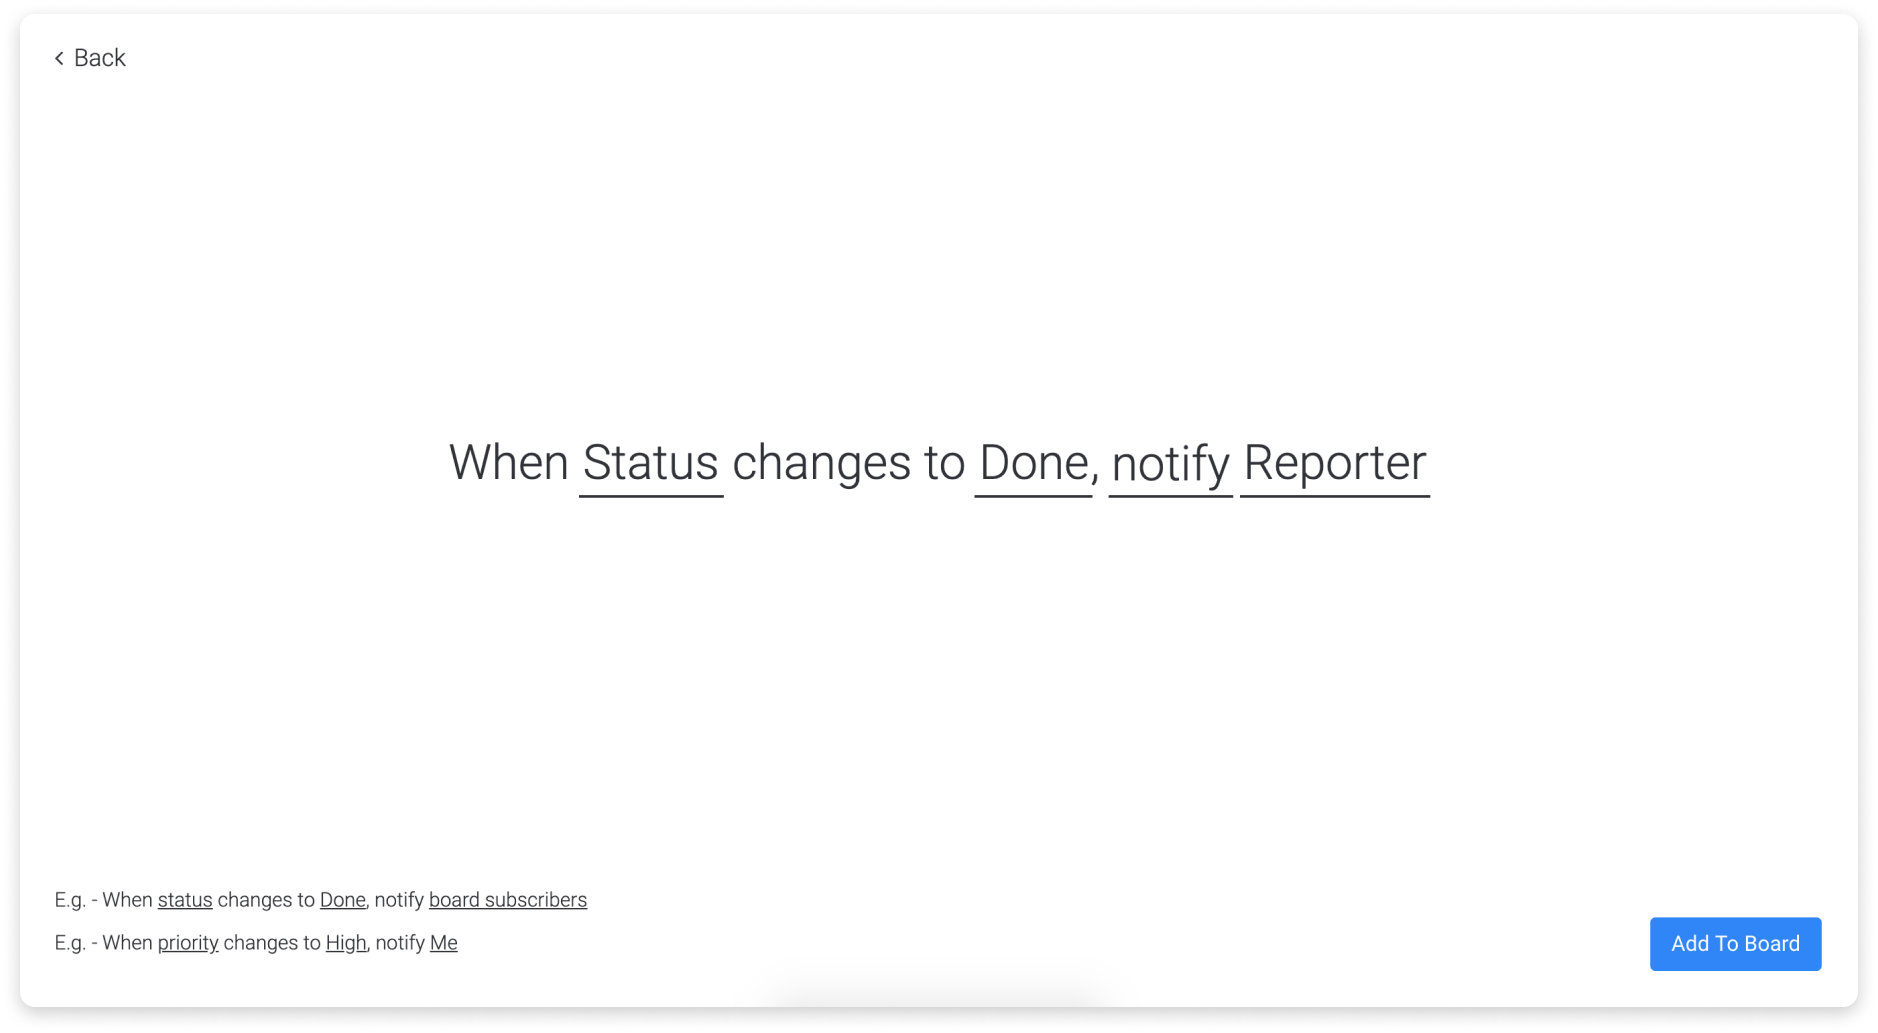
In monday.com automations look a bit like this:
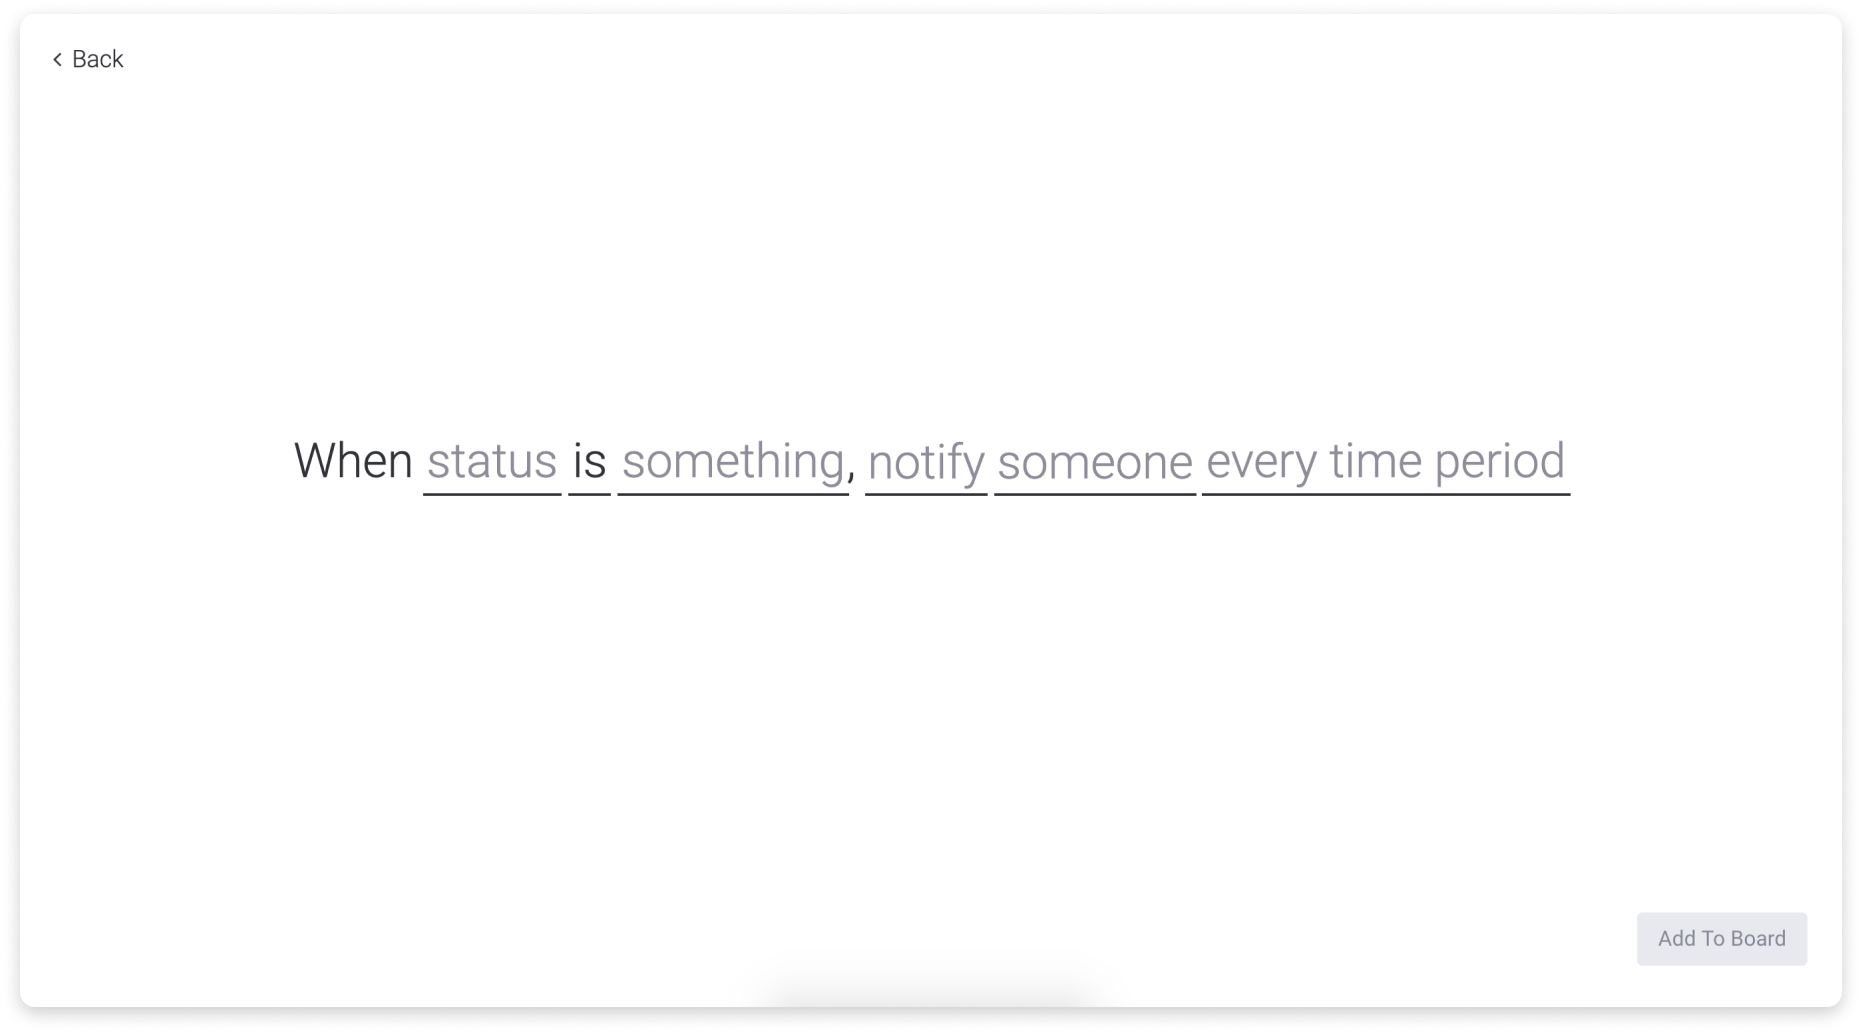
In this instance, the trigger will be a specific status column changing to a specific label (e.g. the status of a project changes from ‘in progress’ to ‘done’). This triggers an action, like a notification – the wording of which you determine – being sent to the associated assignee.
You do have the ability to create custom recipes, building an automation to fit your needs. To learn more about Custom Automation Recipes, check out monday.com’s article.
How to add an automation
To add an automation, go to the board you want to create an automation for and click on the “Automate” button, located on the upper right of your screen.

You’ll get to the ‘automations center’ that looks like this:
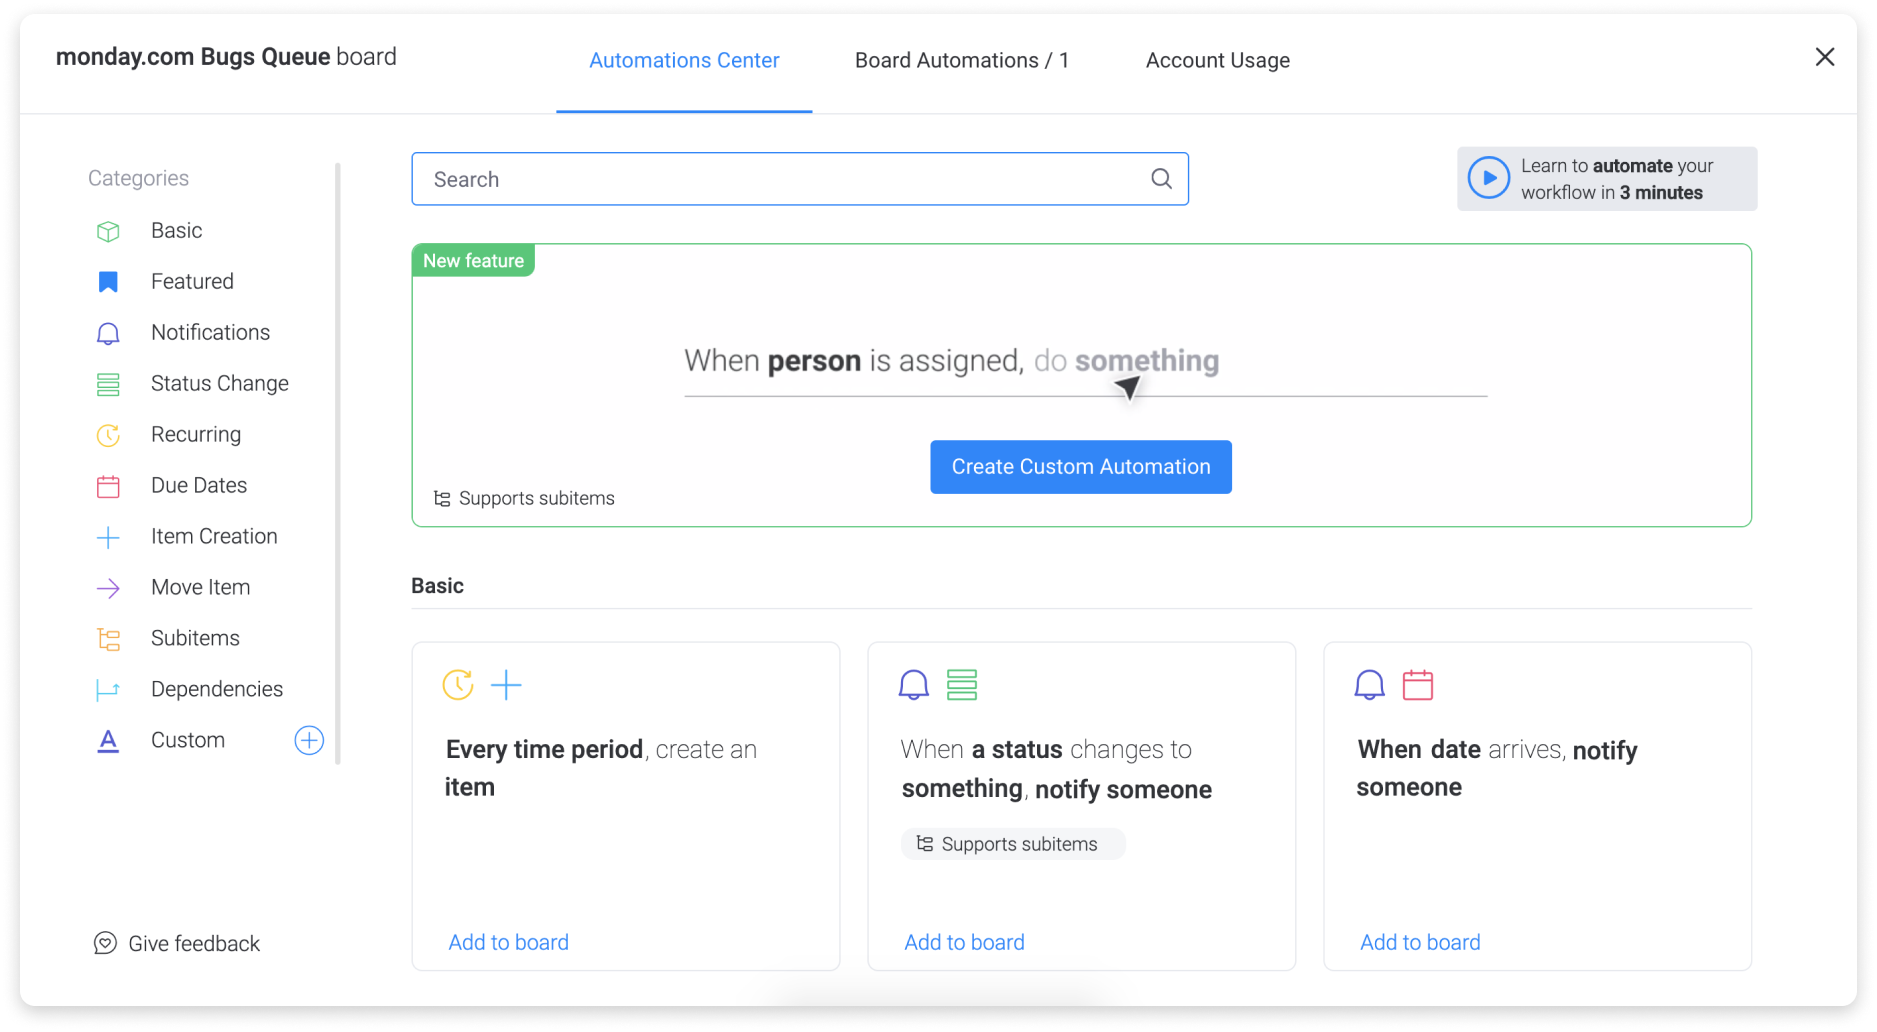
If you’re wanting to create notifications or set up an automation that recurs, the categories in the left-hand menu are a good place to start. Take a look at these categories to find what you’re looking for or use the search bar.
Setting up your automation
Once you’ve picked your automation recipe, you’ll need to add your parameters. Anywhere in the recipe that is underlined is a parameter that you can change.
For this example, let’s look at a board. Using monday.com’s ‘Bugs Queue’ board as an example, customer service reps report bugs that are reported by customers.
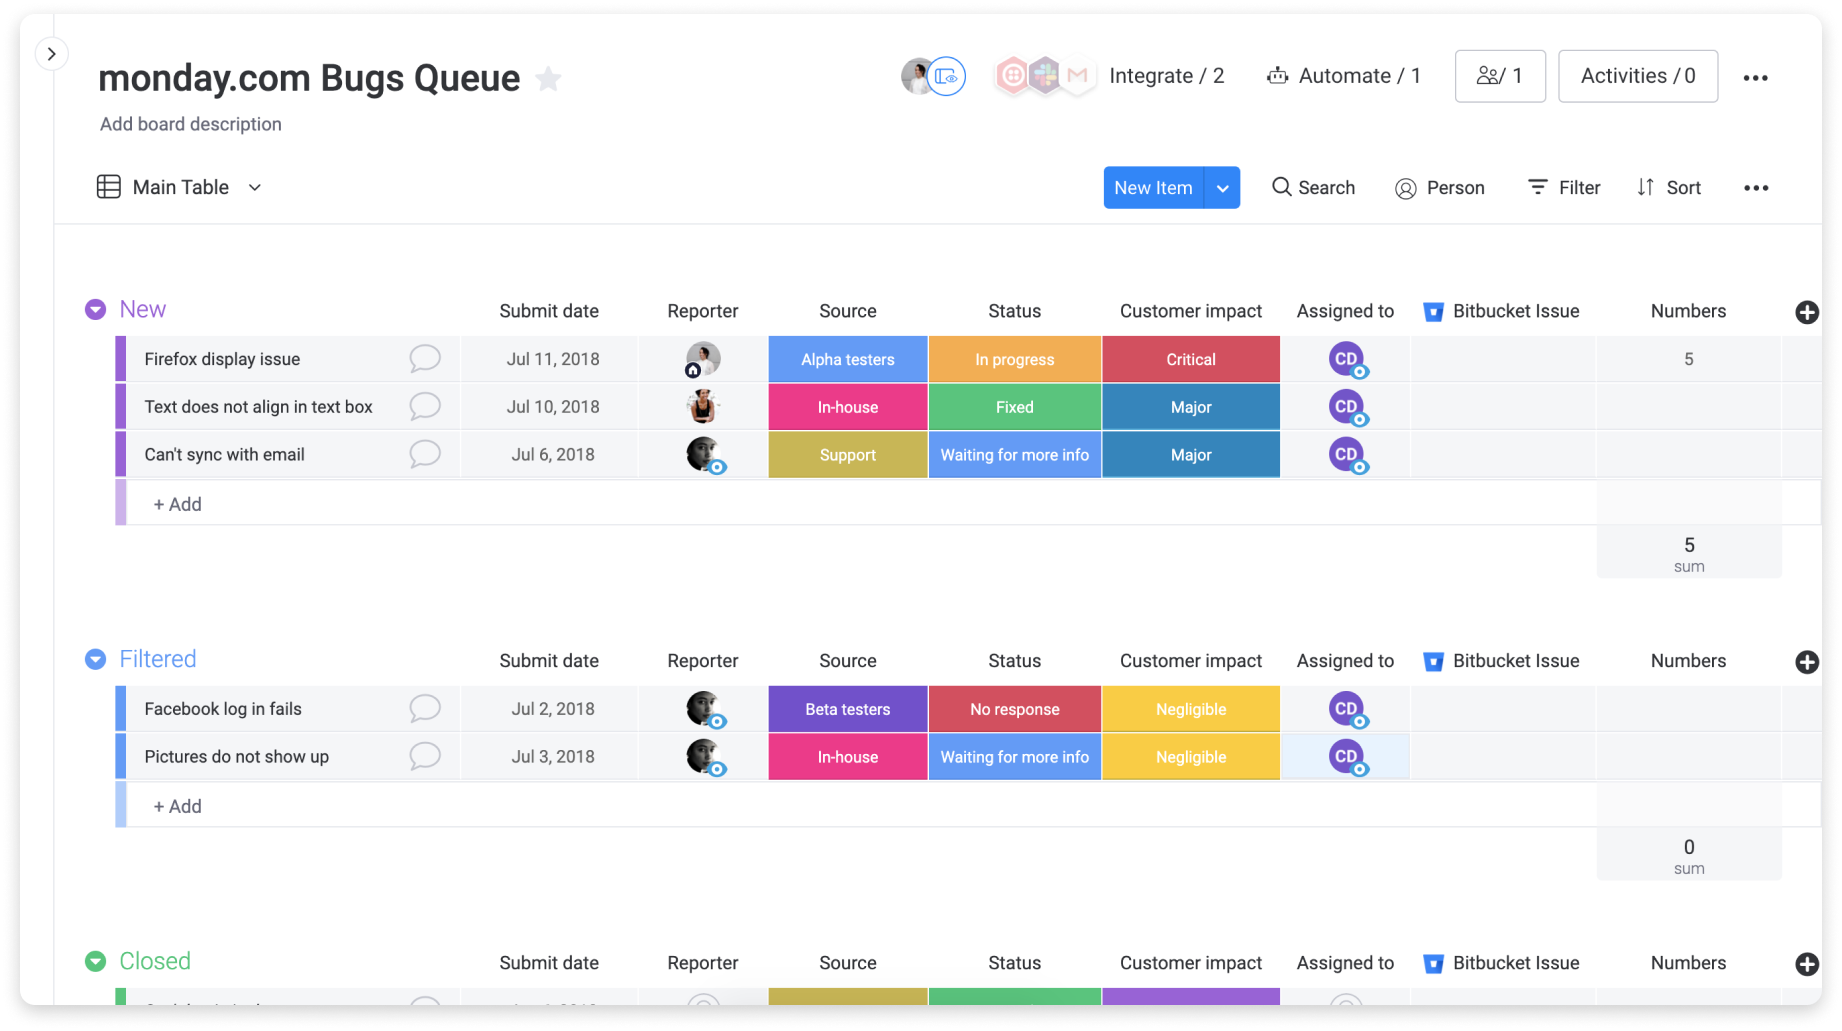
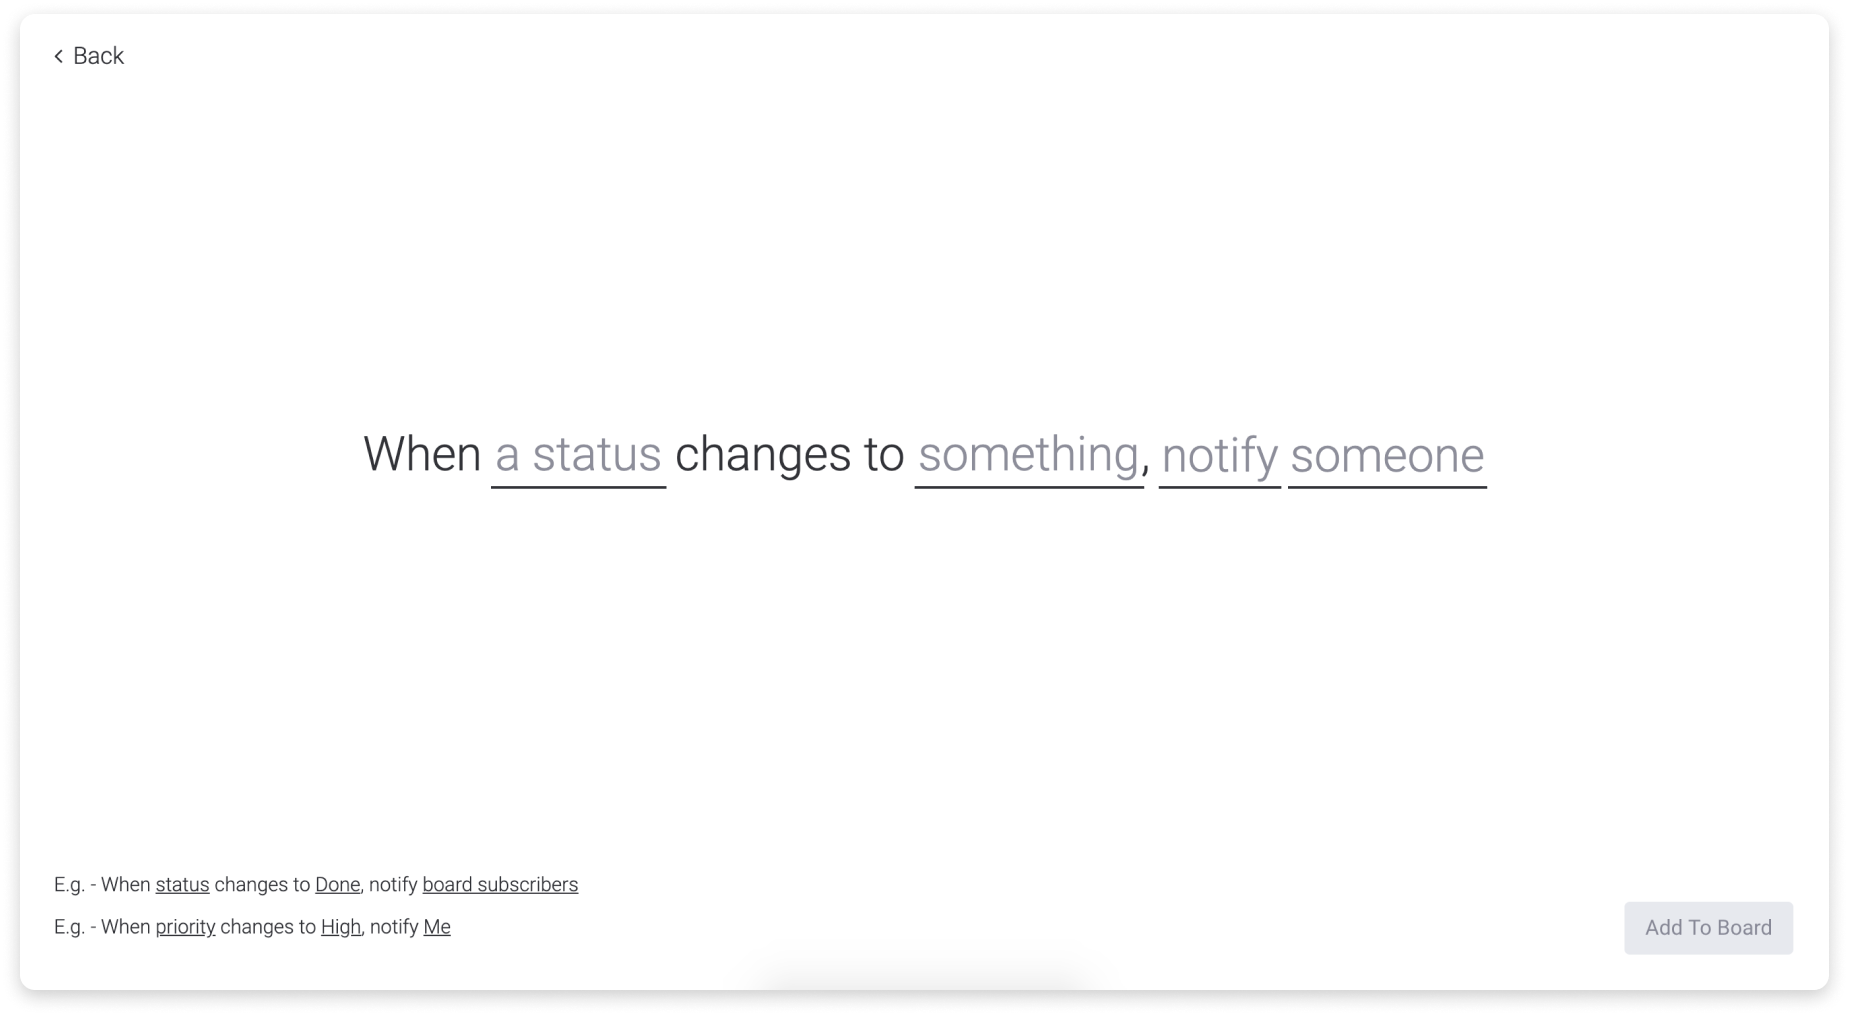
When a bug is ironed out and marked as done, they want to make sure that the reporter of the bug gets notified, so they’ve set up the automation below:
After clicking on the “notify” parameter you can type out what you want your notification to say. Variables for the item name, board name, etc. can be added to your notifications simply by clicking on on the buttons at the bottom of the notification editor. However, some columns are not supported, and they’re touched on in monday.com’s support article here.
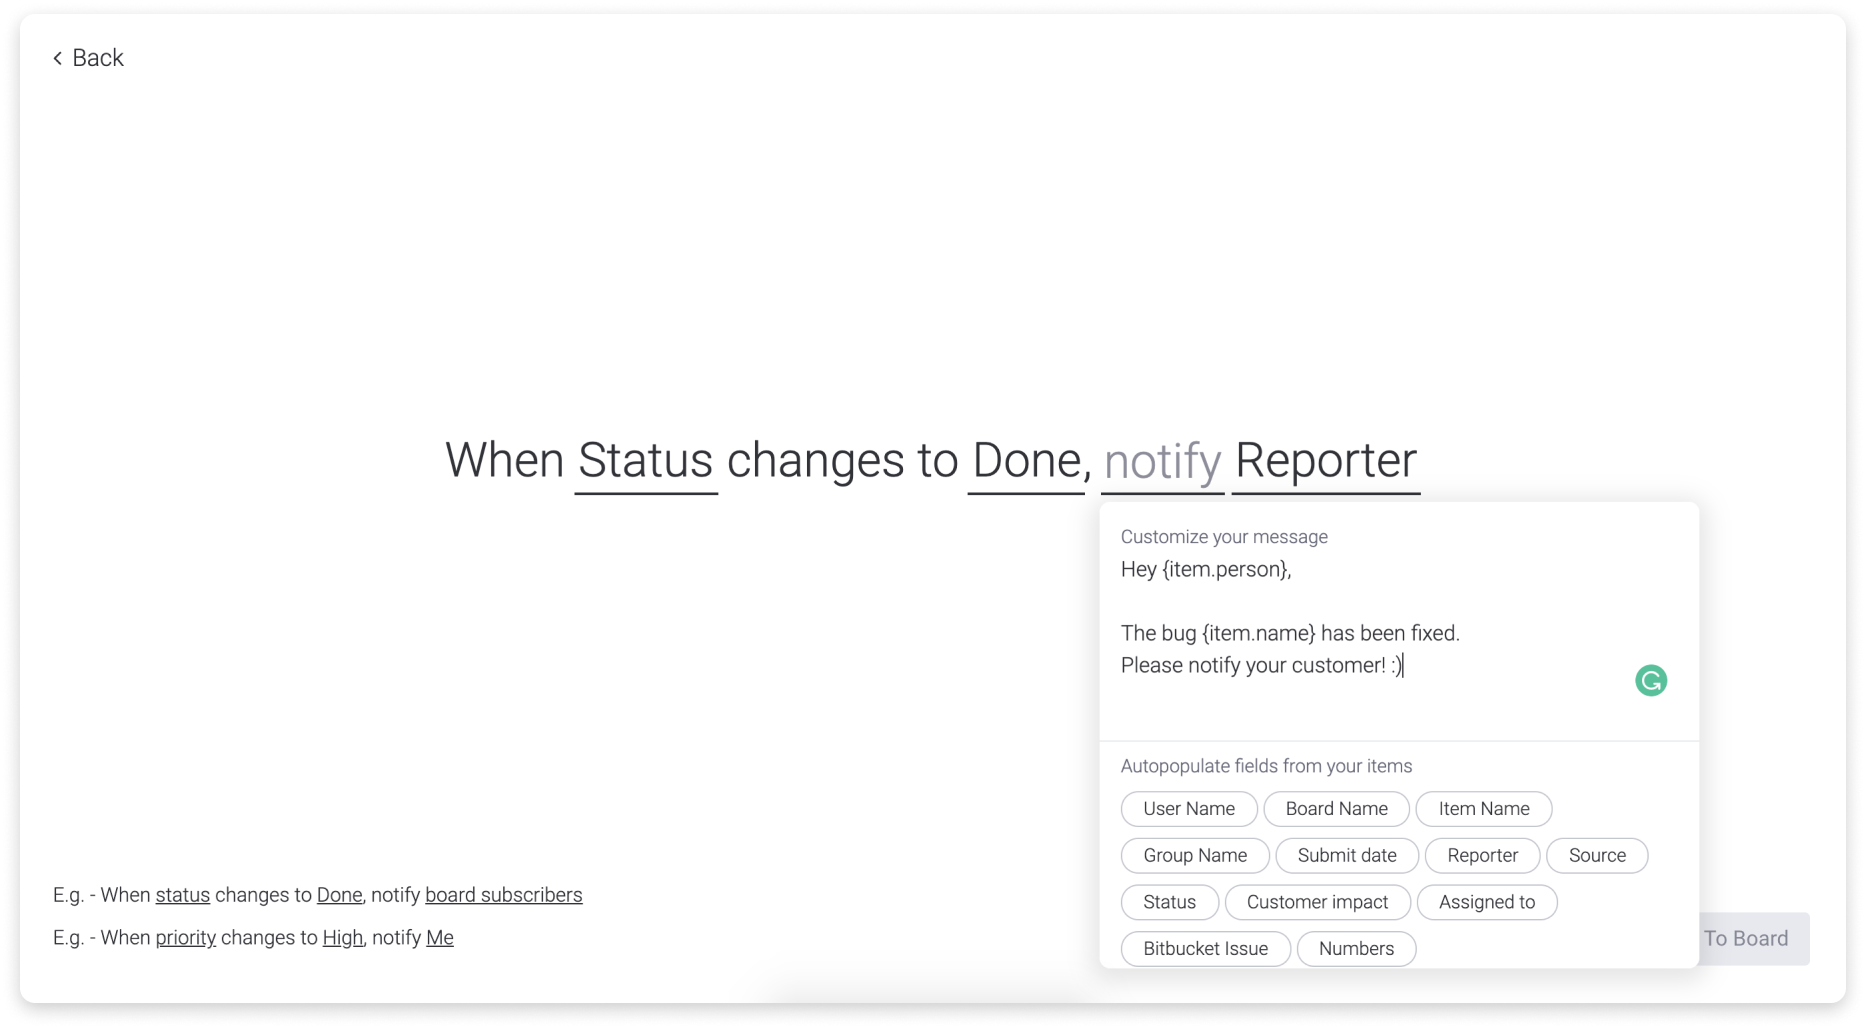
Once you’re done, click on “Add To Board” to turn on your automation. In this case, now each time a bug is fixed, the reporter will get notified and they’ll be able to inform their client accordingly.
Automation notifications
When the automation is activated on your board and the automation completes an action on your behalf, you’ll see this message appear at the top of your board:
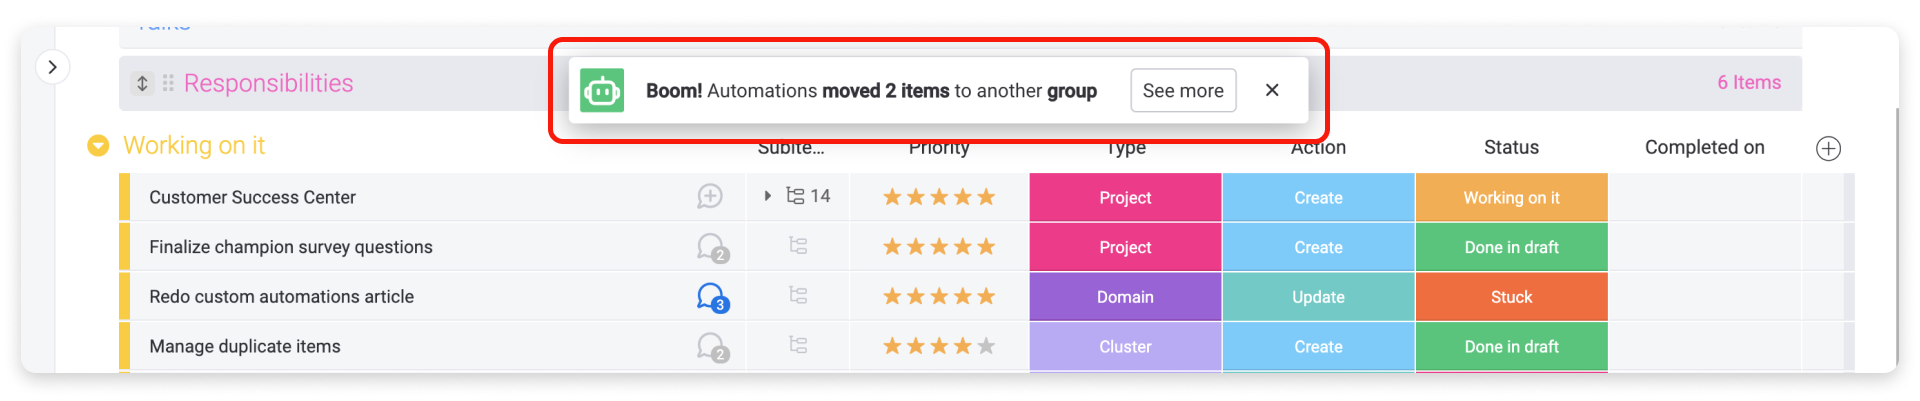
Clicking on the “See more” button will lead you to the ‘Automations Center’ to view your active automations. The notification will only appear for the user who triggered the automation that performed the action. For example, if the automation is set to move an item to a different group when you change the Status column, you will only see the notification if you make the change to the Status column.
For now, the notification will only be shown after the automation completes the following actions: archive item, move an item to a group or change any column value
Remove notifications
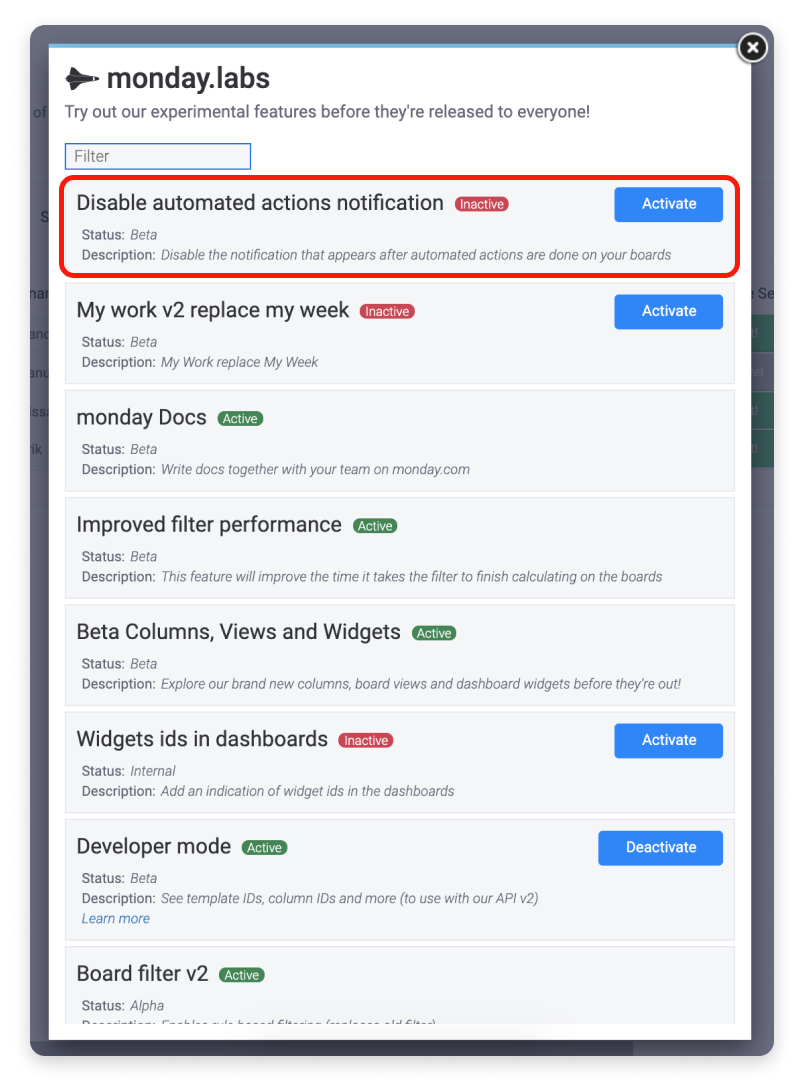
If you wish to turn off the notifications, you can deactivate them in monday.labs. Deactivating the notifications will only apply to your use of monday.com. Each individual user needs to activate the monday.labs feature to remove the notifications during their use of the platform.
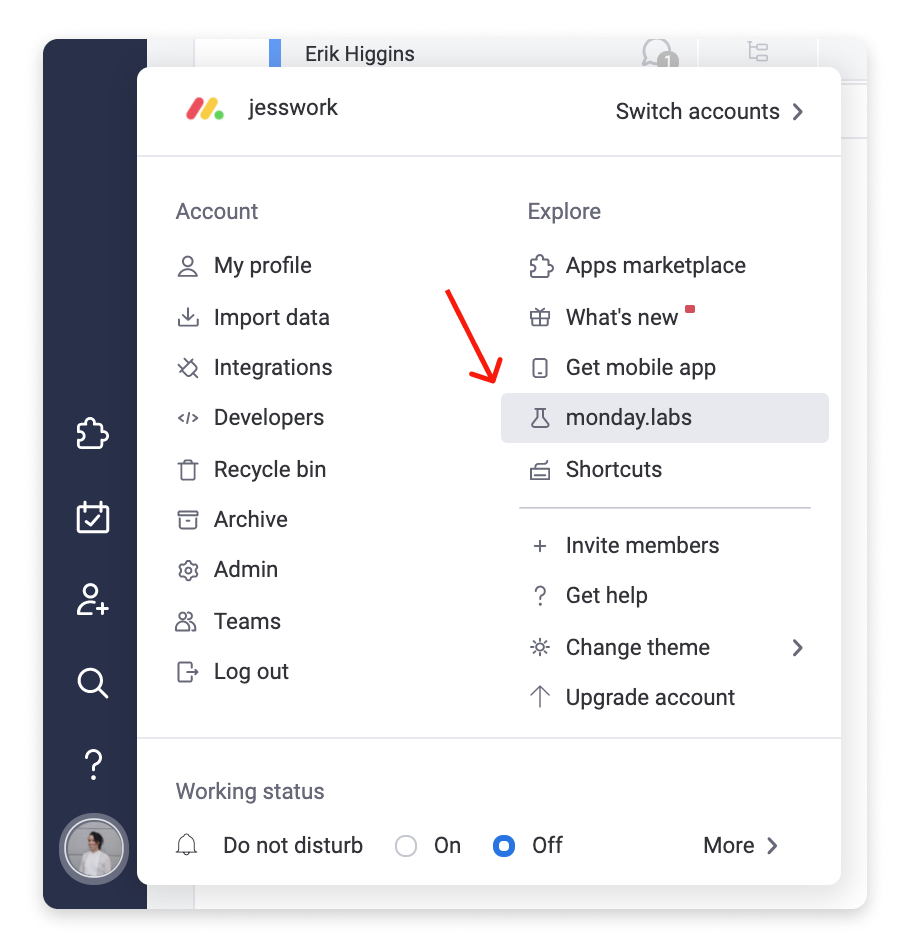
To access monday.labs, open the main menu by clicking on your profile photo or initials. You will find monday.labs under “Explore” on the right side of the menu:
Once you have opened monday.labs, scroll to “Disable automated actions notification” and click on the “Activate” button: